
Of course when I do party hats, I just can't choose any generic party hat that can purchased at the store. It must coordinate with the party theme, and most likely the shirt of the birthday boy or girl! Thus, I thought my readers would enjoy learning how to create their own party hats to use at their child's next birthday party. All you have to do is follow the step by step tutorial!
Supplies Needed:

You will need a paper party hat, scissors, 1/4 fabric, an applique, hot glue gun, spray adhesive, pen/pencil, hem tape, 1 large pom pom, 2 packages of small to medium poms or other decorative elements such as rick rack or ribbon, etc.
Step 1:

Take apart the paper hat and lay flat on the wrong side of your fabric. Use your can of spray adhesive to help keep the hat flat. Then with a pen or pencil draw around the hat leaving about an inch from the edge of the paper. Cut the fabric along the line you made.
Step 2:

On the right side of the fabric, center your applique and iron it on.
Step 3:
 Now coat the right side of the paper hat with the spray adhesive and then adhere the fabric. Don't let the two flaps (where the elastic sits) glue to the fabric...keep the flaps open. Then let dry for a few minutes.
Step 4:
 With the hot glue gun, turn the top and then the sides (in that order) of the fabric under and glue to the inside of the hat. Then take your scissors and cut little triangles out along the bottom of the hat.
Step 5:


Happy crafting and party planning!

Step 4:

Step 5:

Using the hot glue gun again, turn the bottom raw edge in towards the wrong side of the hat and glue the fabric. Then reattach the elastic to the flaps and secure in place.
Step 6:

Again using the hot glue gun, take the hem tape and adhere it over the raw edge of the fabric. This will help clean up the edges and make it look finished as well as help hold the elastic in place.
Step 7:

Now it is time to glue the sides together. Make a thin line of hot glue along one of the sides of the hat. Then take the other side and press firmly on top. You may need to hold together for a few seconds to ensure that they stay glued together.
Step 8:

Now glue the large pom pom to the top of the hat. You want to make sure that it is not only glued on the tip of the hat but slightly around the sides.
Step 9:
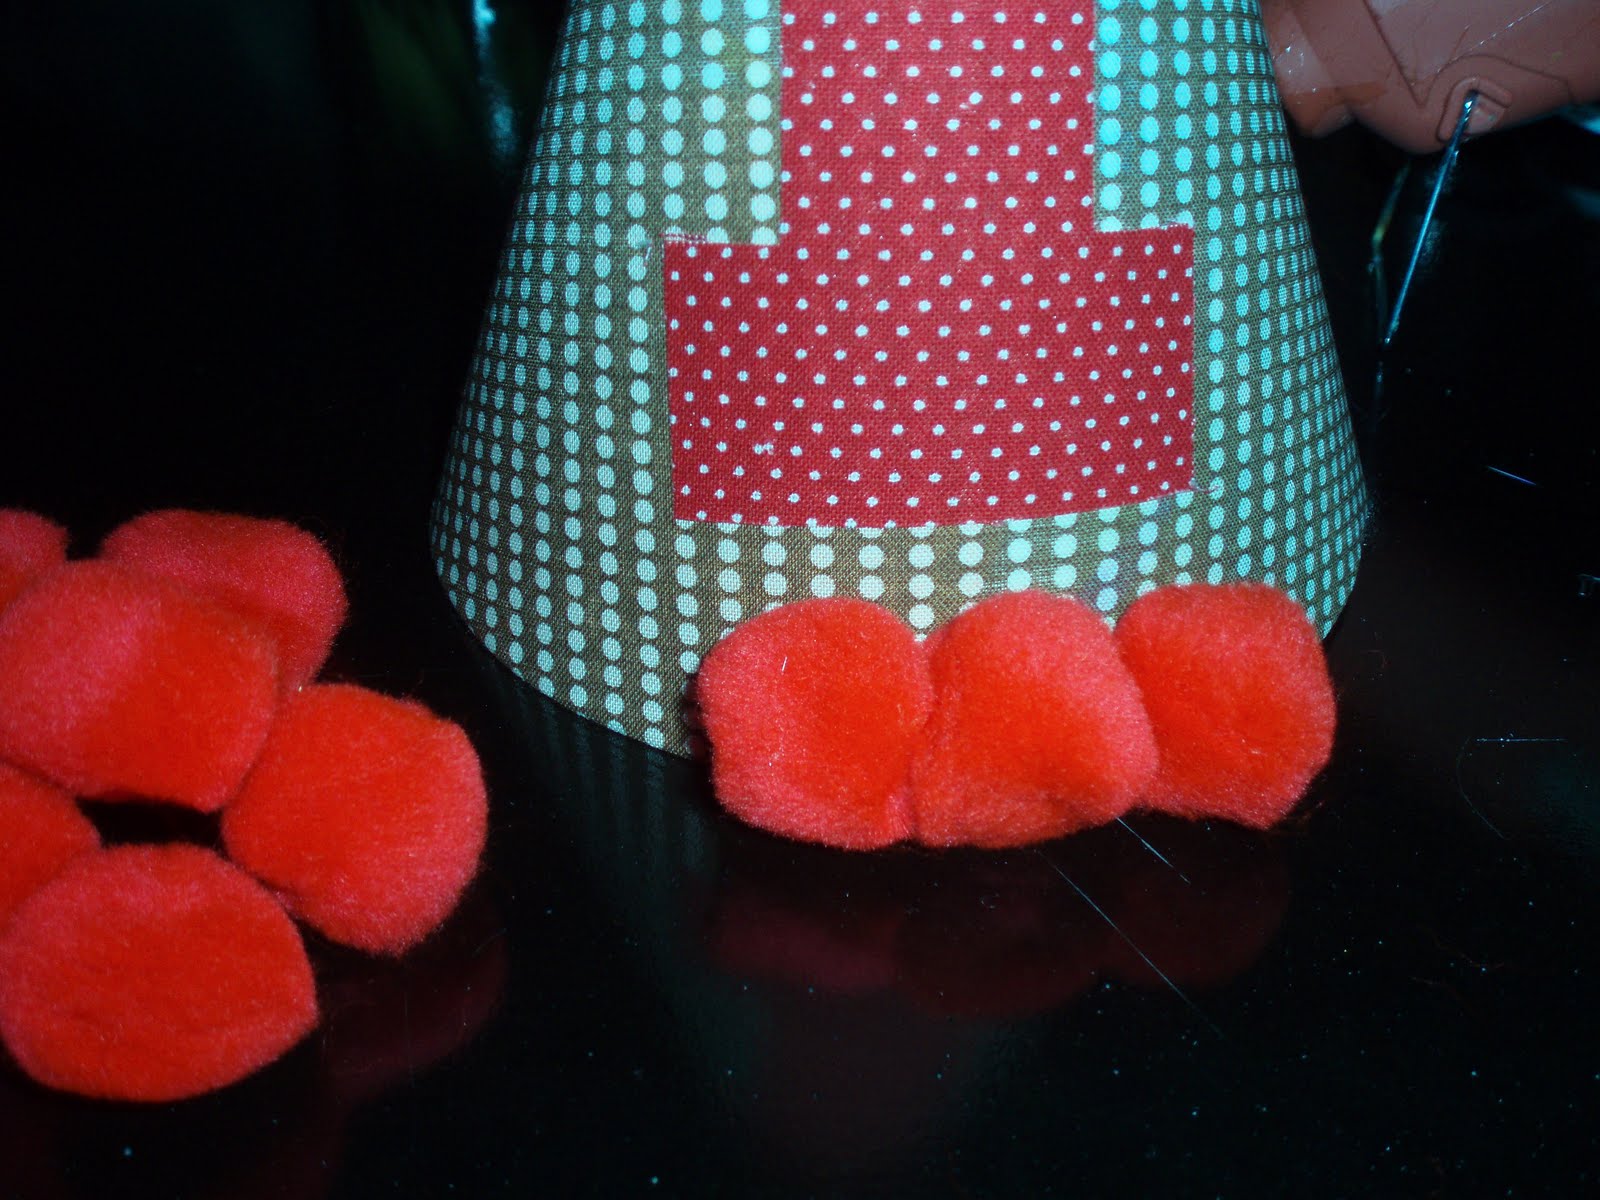
Finally glue the small to medium pom poms around the bottom edge of the hat. Make sure to place them close to each other so that none of the fabric is visible from in between the poms. This step you can also use rick rack or any other decorative element you like.

Now you have a fun and festive party hat for your child's birthday party!!!


ADORABLE!!
ReplyDelete